System76 Launch Configurable Keyboard (launch_1)
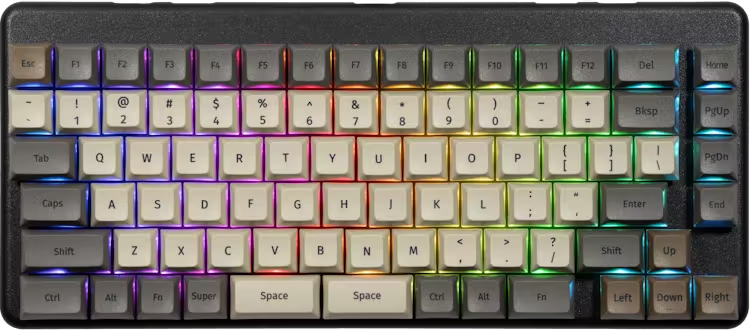
The Launch Configurable Keyboard is engineered to be comfortable, fully customizable, and make your workflow more efficient.
- High-speed USB Hub
- Works on Linux, Windows and macOS
- 100% Open Source
- Made in Colorado
Additional Launch Keyboard resources:
- Keyboard Maintainer: System76
- Hardware Supported: System76 Launch GitHub Repository
- Hardware Availability: Shop System76
Building Firmware
To build the firmware using make (after setting up the build environment), e.g.:
make -r system76/launch_1:default
Equivalently, using the QMK CLI:
qmk compile -kb system76/launch_1 -km default
Flashing Firmware (DFU)
To build and flash the firmware on the keyboard, e.g.:
make -r system76/launch_1:default:flash
Equivalently, using the QMK CLI:
qmk flash -kb system76/launch_1 -km default
Flashing Firmware (ISP)
To flash the firmware (and/or bootloader) using ISP refer to the ISP Flashing Guide.
Factory fuse values => Low:
0x5E, High:0x99, Extended:0xF3, Lock Bits:0xFF
Environment Setup
See the build environment setup and the make instructions for more information. If new to QMK, start with the Complete Newbs Guide.
Bootloader
Enter the bootloader in 3 ways:
- Bootmagic reset: Hold down the key at (0,0) in the matrix (Escape) and plug in the keyboard.
- Keycode in layout: Press the key mapped to
QK_BOOTin the second layer (Escape). - Electrical reset: Briefly short AVR ISP's GND (6) and RST (5) pads on the back of the PCB.