2.6 KiB
Acheron Apollo QMK firmware
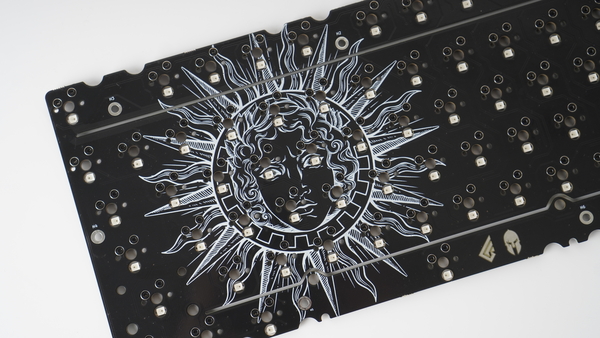
The Apollo is Acheron Project's family of open-source, freely available tenkeyless (TKL) keyboard Printed Circuit Boards (PCB) which main feature is the per-key RGB lighting.
- Keyboard Maintainer: Gondolindrim
- Hardware Supported: open-source PCB using the Joker template. First units were manufactured using STM32F401 microcontroller;
- Hardware Availability: these PCBs are open-source so you can manufacture them yourself or order them from a factory. See the project's documentation for more information.
As of april 7, 2022, Apollo comes in three different layouts:
- 87H (default ANSI)
- 87H-T-SC (ANSI with tsangan bottom row and stepped caps);
- 88H-T-SC (ANSI with F13, tsangan bottom row and stepped caps);
See each variant's README for more information on flashing.
Flashing instructions
Step 1: enter bootloader
The DFU state in the bootloader can be accessed in 3 ways:
- Bootmagic reset: Hold down the key at (0,0) in the matrix (usually the top left key or Escape) and plug in the keyboard
- Physical reset button: press the physical button on the back of the PCB for at least five seconds
- Keycode in layout: Press the key mapped to
QK_BOOTif it is available (ESC key at layer 1 in the default layout)
Step 2: compile firmware
After accessing the DFU state in your PCB, build the default layout using:
make acheron/apollo/87h/gamma:default # For 87H revision Gamma
make acheron/apollo/87h/delta:default # For 87H revision Delta
make acheron/apollo/87htsc:default # For 87H-T-SC (only a single revision as of may 2022)
make acheron/apollo/88htsc:default # For 88H-T-SC (only a single revision as of may 2022)
Step 3: flashing
You can use a flashing tool like dfu-util or QMK Toolbox to download the resulting *.bin file into your PCB.
(Alternative) Compile and flash
After accessing the DFU state in your PCB, you can compile-and-flash automatically using dfu-util through
make acheron/apollo/<variant>:default:flash
VIA firmware
When compiling, just substitute default for via.
Additional info
See the build environment setup and the make instructions for more information. Brand new to QMK? Start with our Complete Newbs Guide.
